If you own a vinyl cutting plotter and you are using Easy Cut Studio, it’s time to start doing your own decals! Creating your custom decals is a very simple process that can help you decorate your home and car, or it can be the beginning of your own small business. Customized items are very popular these days and you can use your creativity to make some profit.
You can download a full working version of Easy Cut Studio from download page. The demo copy is fully functional, with watermarks added until you register.
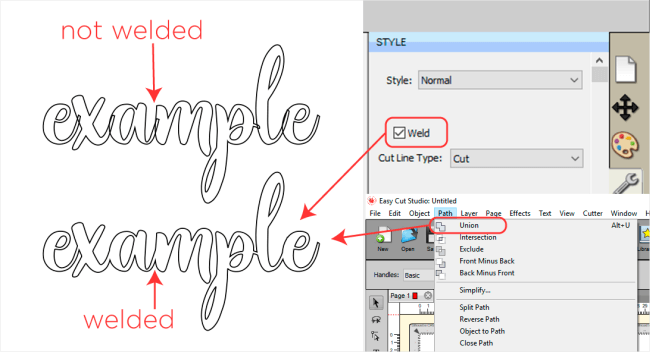
The first thing you will need to do is to open your design or create a new one using Easy Cut Studio. You can use text or images but remember to select "Weld" or go to the "Path" menu and select "Union" to weld all elements and remove overlapping lines.
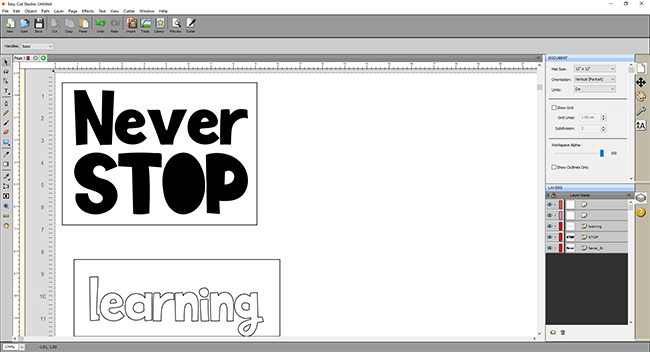
Tip: If you are cutting a small design on a vinyl roll, you can add a rectangle around it to make it easier to weed and save your roll from being cut. I’m doing that for each vinyl colour I’m using.
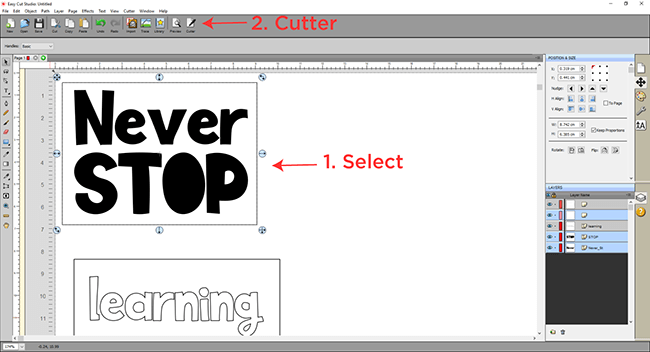
If your design is just one colour, just go to the "Cutter" menu. If your design includes more than one colour, select all the elements you want to cut together, go to the "Cutter" menu and check "Cut selection only" to cut only the elements you have previously selected.
Remember you can choose the cut mode between "WYSIWYG" and "Origin Point" to make the most of your vinyl.
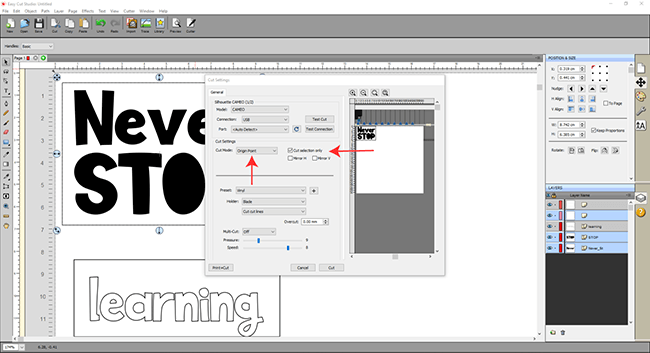
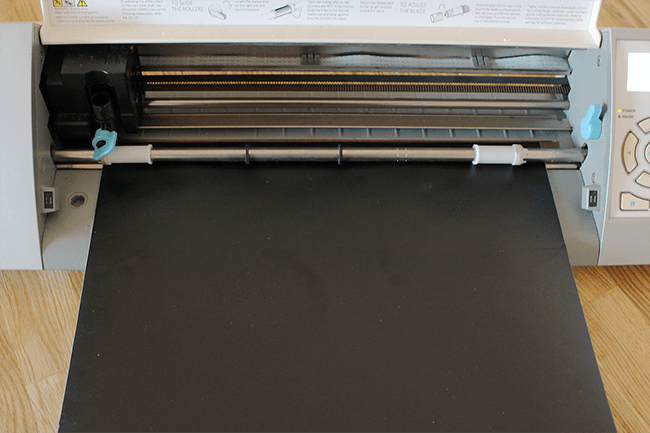
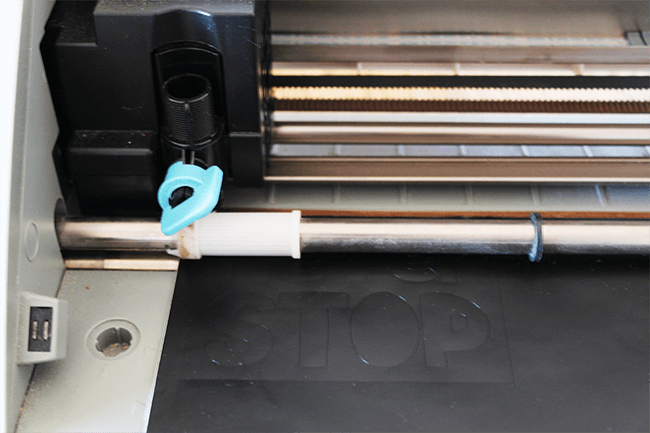
Set the Presets to "Vinyl" or use your custom presets to get the most accurate cut. Load your material into the machine and press "Cut".
Once your first colour is cut, load your next vinyl colour and just repeat the cutting process till you have all your pieces ready.
Now it’s time to weed your design. Weeding means to remove all vinyl parts that don’t belong to your design. Do it for every colour.

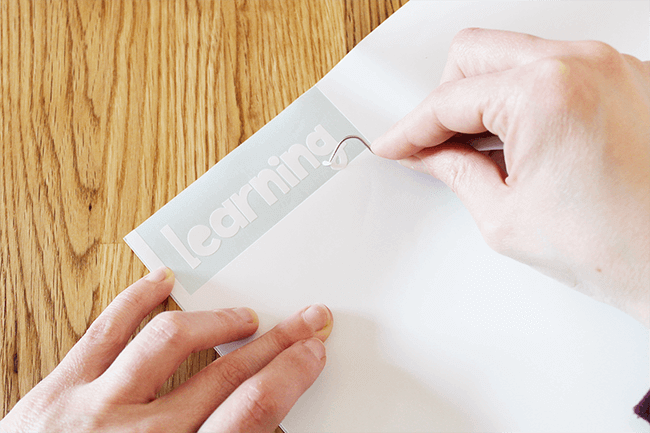
Cut a piece of your transfer paper, slightly bigger than your design. I’m using, as a reference, the notebook where I’m going to place it.

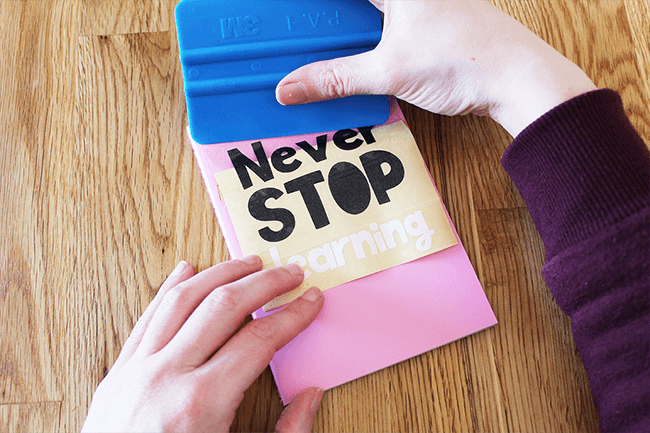
Place your transfer paper on the first piece of your decal and stick it using your scraper. Remove the backing paper of your vinyl and repeat the process with all your pieces.
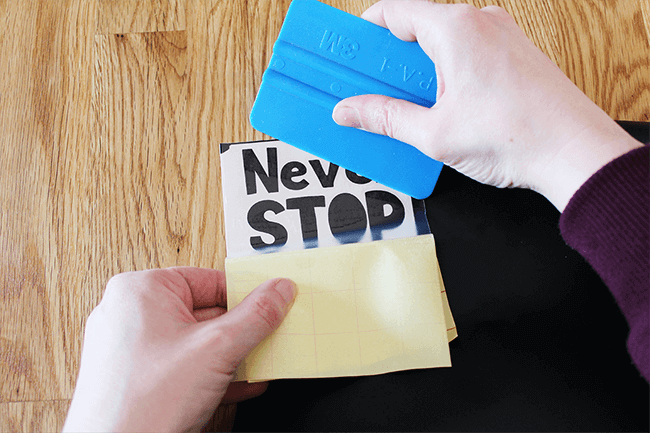
Use the backing paper of your transfer sheet or the backing paper from your vinyl to prevent it to stick to other surfaces and help you align the pieces.


Now you have your decal ready to stick wherever you want. If you can, clean the surface where you are going to add your decal using some alcohol and a clean cloth. Use the border of your transfer paper to help you place the decal on the surface before sticking it.
Once it's right in place, use your scraper to adhere it. Remove the transfer paper and rub it again to be sure it’s perfectly set in place.


You’ve just created your first customized decal! Now you are ready to personalize anything you want. Using Easy Cut Studio there’s no limit to your creativity. Let’s start creating!