Welcome to our step by step guide for setting up Easy Cut Studio to cut your designs with your PixMax Vinyl Cutting Plotter.
Easy Cut Studio is a fantastic vinyl cutter app which allows you to design vector graphics, convert bitmap images, import artwork from 3rd party design apps and (most importantly) connecting to your PixMax cutting plotter for cutting your design into vinyl.
There is a lot of plotting / Vinyl Cutter software available, but what sets Easy Cut Studio apart is that it's not only easy to install and use, it supports a wide range of vinyl plotters/cutters and it's also available on both Windows and Mac (this is very handy as the Apple Mac is the machine of choice for the design industry!).
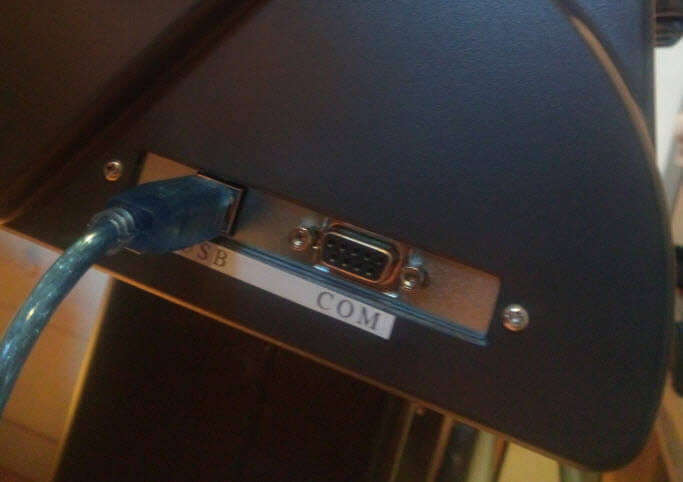
Before you start please ensure you have installed the USB Driver which comes with your PixMax Vinyl Cutter.
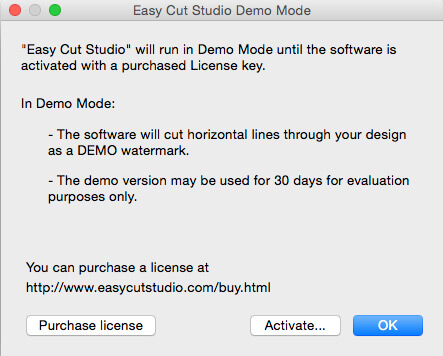
Easy Cut Studio has a great TRY BEFORE YOU BUY DEMO version which will allow you to test the software. You have full functionality of Easy Cut Studio in this demo (which lasts for 30 days) but your actual final vinyl cut will include horizontal line watermarks as this is an evaluation version of the software.
Once you have downloaded the software and installed it, you will be presented with a blank canvas screen.
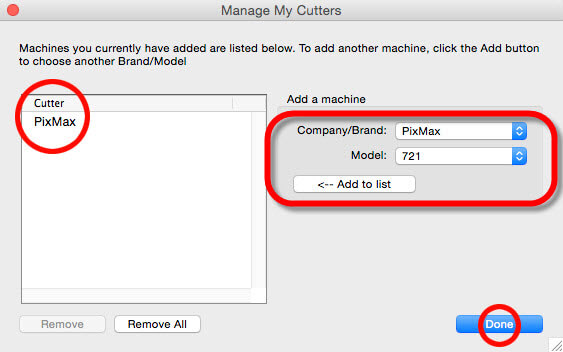
The first thing to do is to add your PixMax Vinyl Plotter to the "My Cutters" list. This is done but selecting CUTTER in the menu bar, followed by MY CUTTER then MANAGE CUTTERS...

You will then be presented with a pop window where you can select your brand of vinyl cutter and model (PixMax 721 in this instance) and click ADD TO LIST.
Once that is done you are ready to start using Easy Cut Studio to design and cut your creations.
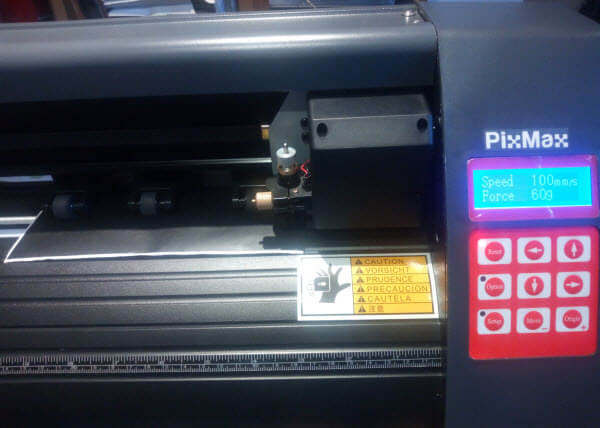
Insert, align and set the origin point of your vinyl sheet in your PixMax Cutter (refer to PixMax manual for reference).
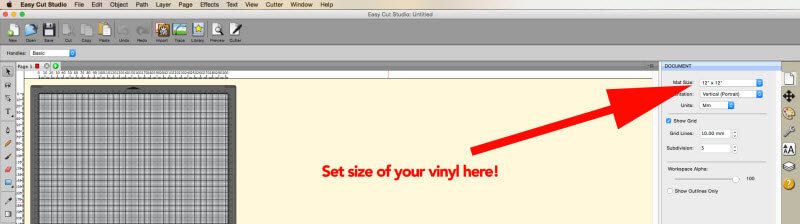
Set the size of your vinyl in the top right-hand side. Note that this is not the size of your design but the size of the vinyl in your cutter, your design will obviously be smaller than these dimensions!
Once the size of your vinyl sheet is set then you can either start creating your artwork, or use the IMPORT button in the icon bar to add designs from another vector graphics package, you can even use the TRACE button to convert a raster (bitmap) image to vectors for manipulation and setting.
Use the control panel on the right-hand side to fine-tune the options of your design.
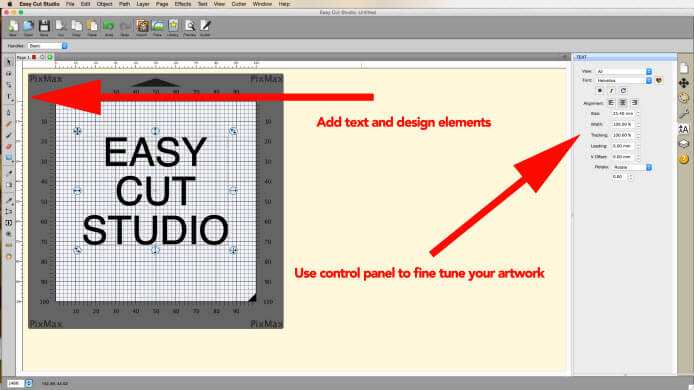
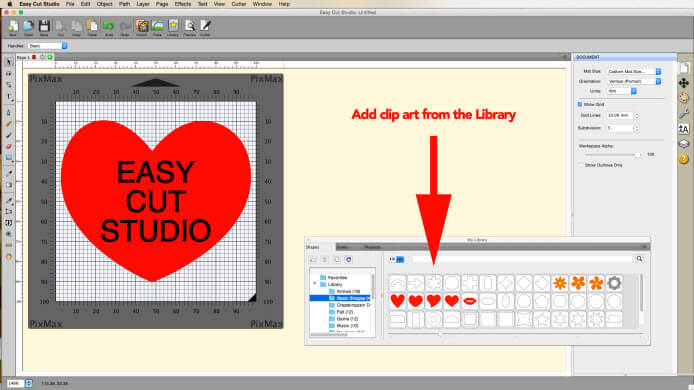
You can add clip art from the Easy Cut Studio Library panel, just drag and drop, use the square image handles on the corners to resize or transform your clip art.
Easy Cut Studio Tip... add a box to your design so the plotter cuts an outline around the artwork, this comes in handy later on when removing the excess vinyl from your design (a process commonly known as weeding).
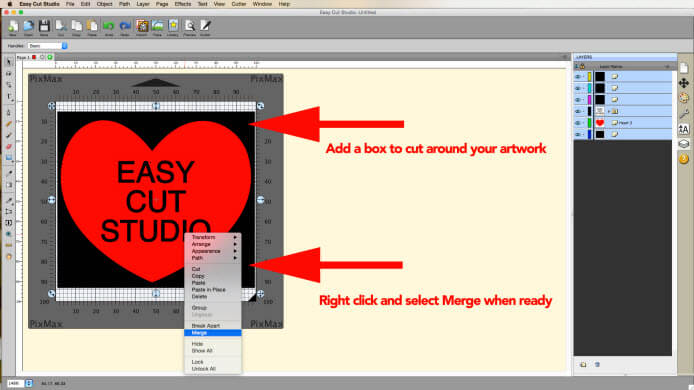
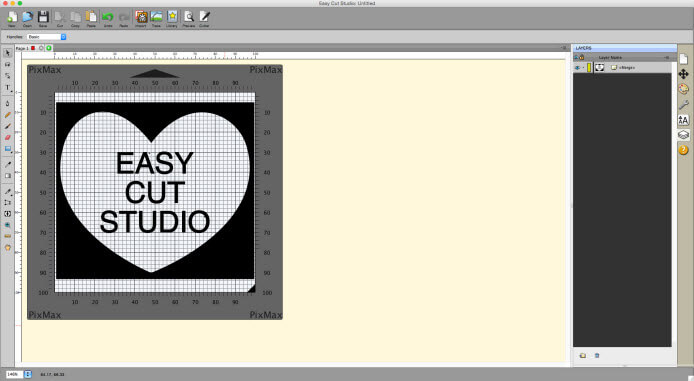
If you are designing in Easy Cut Studio you have to SELECT ALL your on-screen assets (CMD & A on a Mac - Control & A on Windows), right click and select MERGE, this will flatten your image. Sometimes using multiple layers like this will hide elements depending if they are in front or behind multiple shapes.
You can PREVIEW your design before pressing CUTTER to send your artwork to the PixMax Vinyl Cutter.
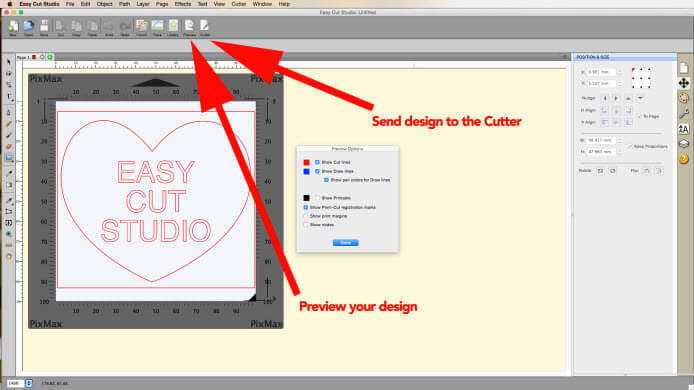
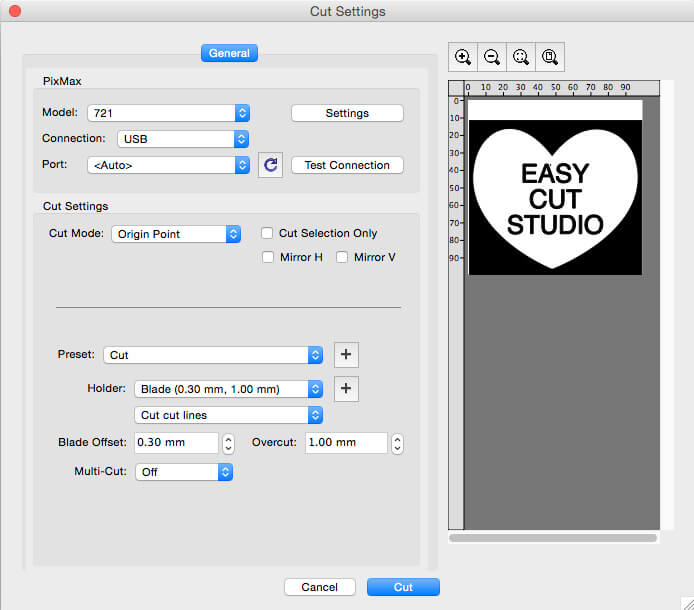
A popup window will appear for a final check of your settings, press CUT to finalize the process and send the design to the PixMax Vinyl Cutter.
On-screen progress bar
Success message
Now you are ready to start cutting out and weeding your design.
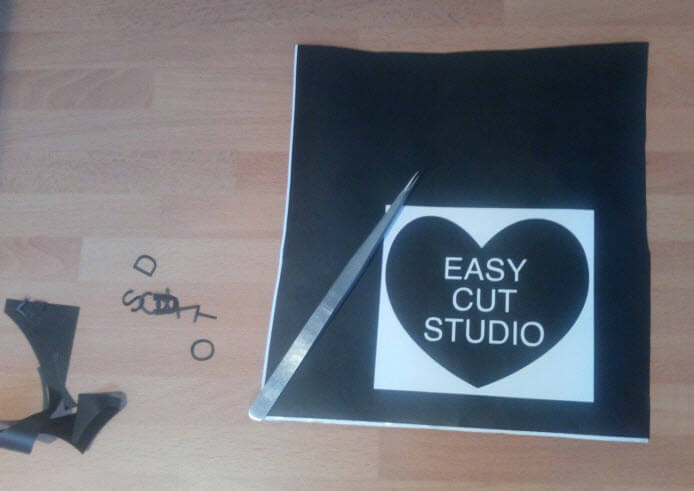
Give your creativity the cutting edge with Easy Cut Studio!
If you have followed these instructions and are still having problems setting up your PixMax vinyl cutter, please contact our technical support for help.